Facemask tutorial
PES 18/19 Facepaint tutorial
Since I was asked here's the pipeline of how to make a good facepaint. While I know not everyone is gifted with art skills or doesn't have money to burn for a Wacom Bamboo for a divegrass tournament centred around a Scythian basket weaving forums, mouse, GIMP and blender is all you need. And sometimes it will take a bit longer than usual.
Setup
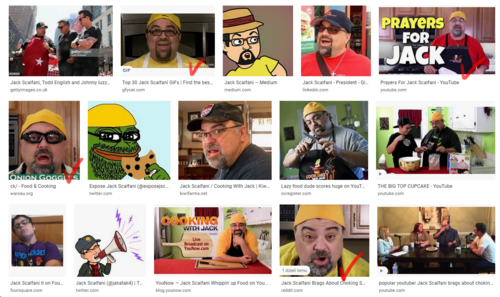
Let's use Jack Scalfani as an example. First of all you need to start with a base - find on the web the most forward shot of the face as possible
Using google image search you can already see some good candidates. Download what you think is the best.
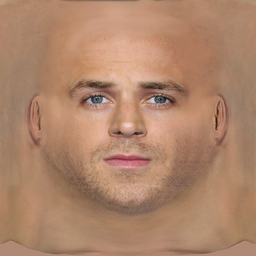
Next you need to download a base that you can use as a reference. I provide Real Human Being's head cause Gosling's head is actually pretty damn good for a base.
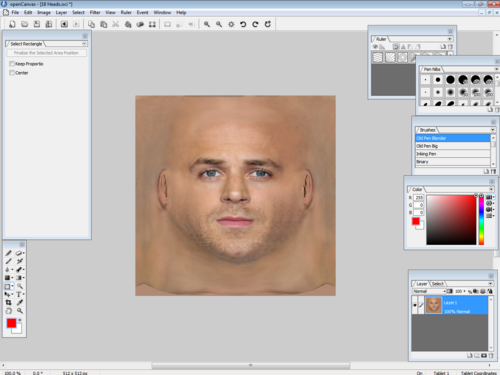
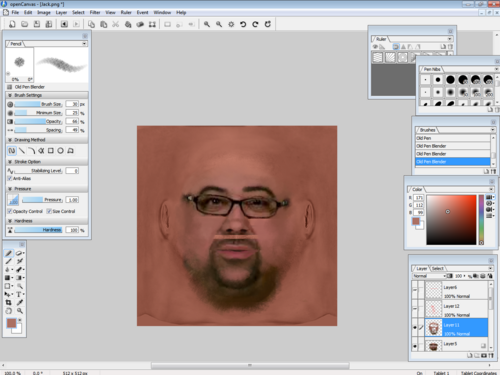
Load it up in the image editor of your choice. Personally I use Open Canvas 6, but using GIMP, Manga Studio, Clip Studio or Photoshop works. Baseline is - it has to support a .PSD format - so layers and opaque brushes.
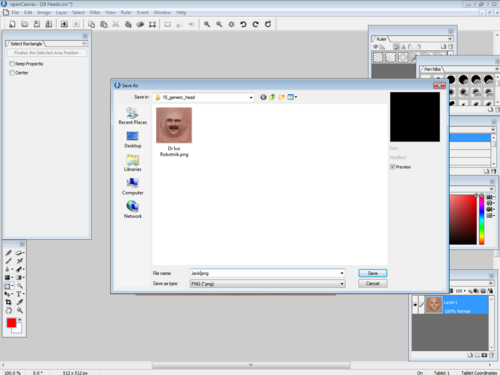
Loaded up? Good. Now save it as a .PNG with an appropriate name. Don't worry this is just to make things easier.
Download the generic head model provided in the link above and unpack it.
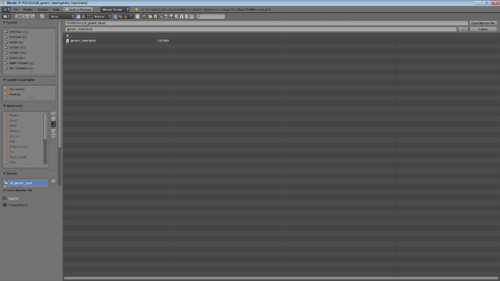
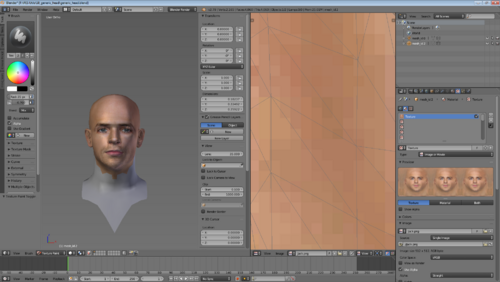
Now we need to set up your reference model - launch Blender. Any version from 2.7 to 2.79 will do. 2.8 and above has a different pipeline so setting it up is harder. Load up the generic_head.blend
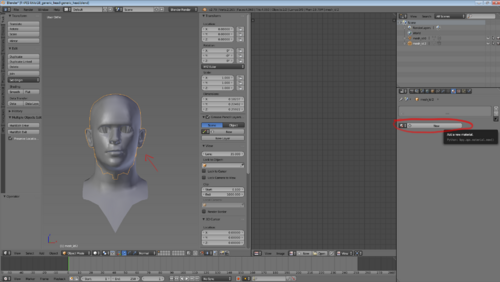
Now when it's loaded, select the head and create a new material.
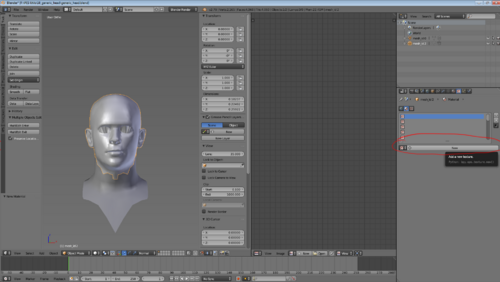
And a new texture for the material.
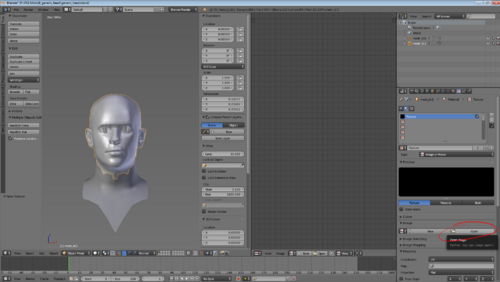
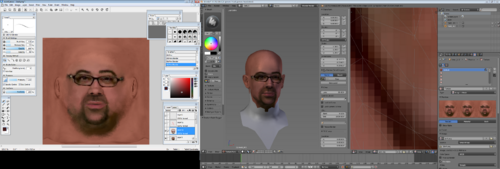
Open up the previously created .PNG for the material and voila!
You have your reference head. Put the blender window on the other monitor or if you're a monitorlet, just hide it for now.
First Steps
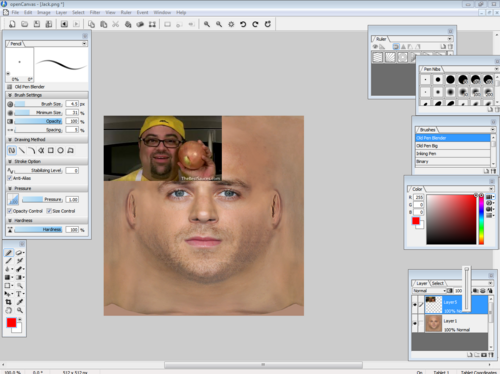
Let's get back to our art program. Grab the head you previously selected and paste it as another layer like so.
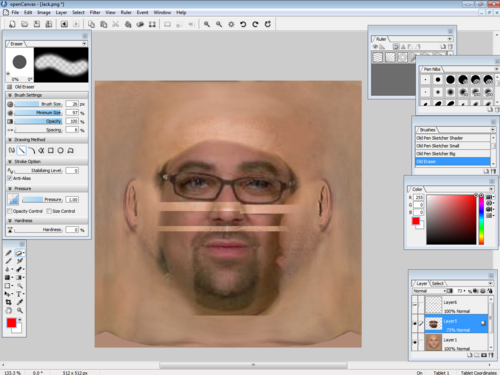
Now you see the first problem - 9/10 times it's misaligned, too small or too large. Stretch and rotate the layer with the picture over RHB head (Best have the layer at about 70% opacity). You want the eyes to match RHB's eyes positions and sizes. Don't worry if the nose ridge is thicker or one of the eyes is misaligned. You can adjust it later.
Now you need to chop the head up into three parts - the nose end, the lips and the eyes and forhead. Keep the eyes and forehead where it is, now try to shift the rest so that the nostrils of your man (or woman) align with RHB's nostrils. You might need to rotate or tweak it a bit. When that's done slice out the lips and chin and align it with the lips of RHB. If things are done correctly this is what you should get.
Now get rid of the rest of the image. You just need the most basic of the features. Don't worry about the ears.
Adjusting Skin Tone
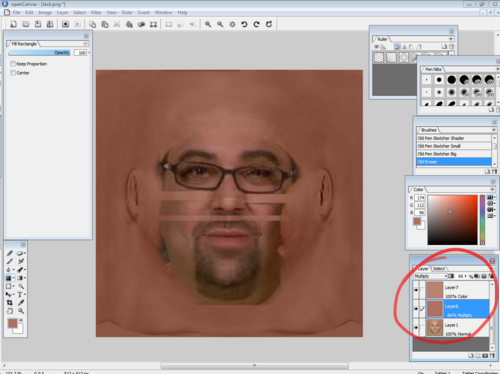
Now you need to adjust the skin tone. Create two layers - a colour layer and a multiplication layer. Fill both with a sampled skin colour of the brightest skin spot in the ref photo. Arrange the layers like in the picture and adjust the opacity value until you more or less match your guy's skin.
Giving Skin Definition
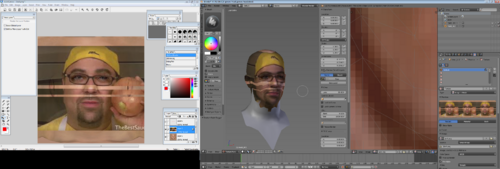
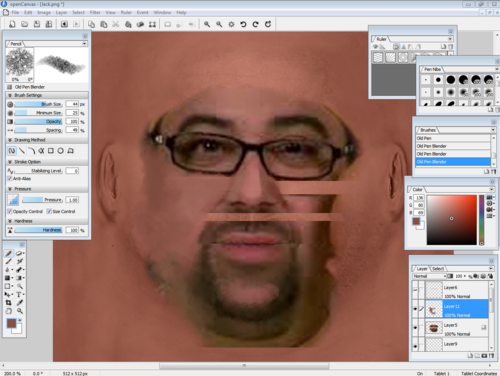
And here's the tricky part: You need to start painting. Select a brush that is similar to the one in the ref images and start painting over the spots. If you don't have a tablet but a mouse. Set your brush opacity at 20-40% and do this slowly. Eliminate JPG or MP4 artefacts by painting over them. And try to make the skin of the layer where you have your guys/gal's feature blend into the backdrop of the modified RHB's face. You can also play with shape tools stretching parts of the image to fit others and using smear or blur tools to see if you can join them together. Every now and then save the .PNG you're working on and click that refresh button next to the texture file name in blender to see how it looks on the model.
Now comes the tricky part - you need to take special care to express the shading in following areas. Look at tons of reference photos of your guy/gal and try to see how light works there. It's not an easy process but if people have pronounced browridges, you should put extra shading there.
If they have fatty cheeks, shading here will help them pop up. Etc. the generic head can't be manipulated much so shading gives some semblance of these features. Make sure to make the nose end pop up with the most natural brightest skin colour. Red noses exist only in Rudolf the Red-Nosed Reindeer media and pronography and on tumblr. Normal people don't have red noses unless they're drunkards. Skin also isn't 100% smooth. Use texture brushes to add texture. Additionally if you have a big photo of the guy/gal you're trying to make into a facemask, copy a part of his exposed skin and use it as a texture, blending with the rest of the image. Hair is harder to do and will require a texture brush with a low amount of spacing and gentle strokes.
This process is probably the longest and might take few attempts - every time you make a change save it and compare it to your blender model. You will get better with this! Practice makes people perfect! If you're satisfied with how you've drawn the texture them move to the other spot etc.
Details
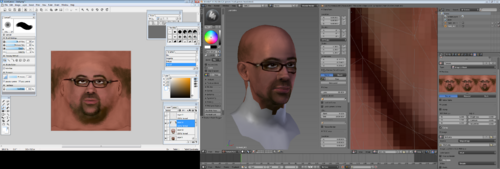
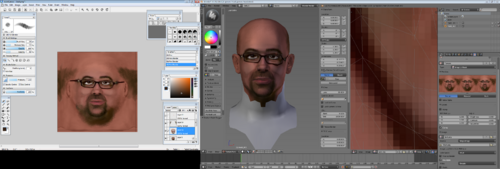
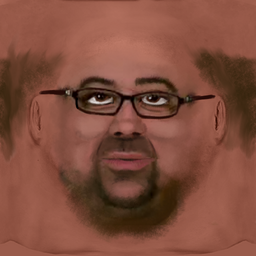
After few minutes to few hours to few days of work you should get something like that. If you can notice - most of the JPG artefacts are now gone. It's also advisable to pronounce the lips a little bit - again refer to your blender model to see if you're doing it right.
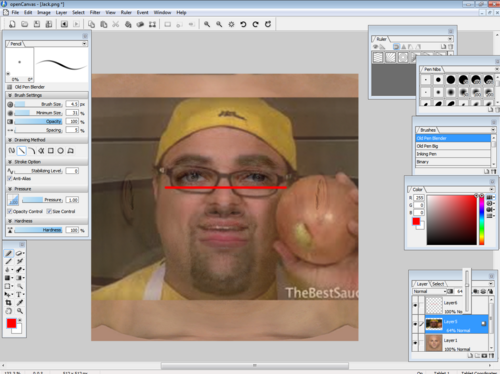
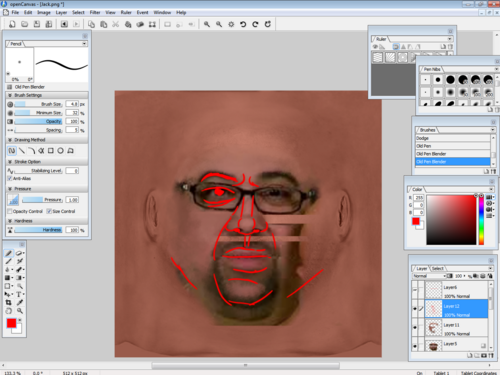
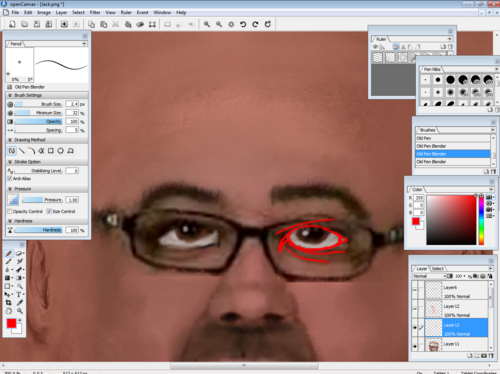
And here comes another part that is important - due to how things are drawn in PES, you might want to have eyes a bit more pronounced - give that region more definition - whites of the eyes more white, a bit of shine to the iris, underline such things as brow ridges eyelids and any kind of crow feet or black marks you think are appropriate. Refer to redline to where such things should be underlined.
Finishing Touches
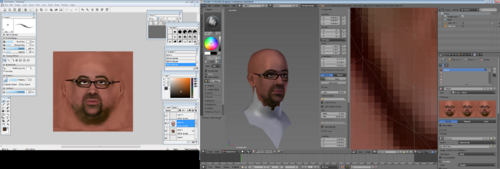
If the guy/gal has glasses on them, instead of providing a model sometimes just drawing it on is okay, so remember to extend those glasses to the ears like in provided screenshot.
If the character is severely balding, the best course of action is to paint the hair on like so. Remember that there can be a nasty seam on the back of the head so best draw one side of the hair on another layer copy that layer, mirror it and then move it to the other side of the head. No one will notice.
Remember to give it one last glance and buff up any exaggerated proportions such as jowls, plump cheeks, double chin etc. When you're done, save your work and presto!
You have a skin that you can turn into a .ftex and apply to
Additional Notes
This set of guidelines can be applied to nearly every head we use provided you have
- .blend file for it
- a base texture you can use instead of RHB's
- feeling that the above tutorial helped you
Bottom line is that - don't treat this particular tutorial as 'set in stone'. Each head or texture requires its own approach, but with a bit of practice you can apply this knowledge to any possible combination of heads and textures.
