Creating LOD Models with Pre-Made Templates
| ||||||||||
Introduction
LOD stands for Level of Detail and is the name for the model that you will see during a match.
There will be all different ways of creating LODs, with tutorials coming soon thanks to the help of /m/'s Blenderanon
This Tutorial is an easy way to create a different types of pre-made models with a working LOD.
Getting Started
Firstly, you'll want to download the folder from the link below. It contains the already set up blender models for all levels of detail.
Soon to be updated with links:
Cube Boxhead (Image on front)
Cube Boxhead (Same Image on all sides)
Boxhead (Different Image on all sides)
Horizontal Cuboid Boxhead
Vertical Cuboid Boxhead
Square Flathead
Horizontal Flathead
Vertical Flathead
The models above have invisible necks. If you want a visible and customizable neck, download this folder and extract it into the folder you are working on from above.
Visible and Customizable Neck (Incompatible with Flatheads)
Creating your Model
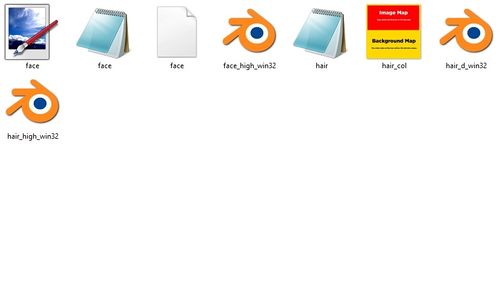
When you download either of the folders, you'll be greeted with a folder like the one to the right.
To create your model, the file you will want to edit is hair_col.dds, where you will be met with an easy to use template already in place for you to edit.
NOTE: If you have problems opening/editing .dds files, a recommendation would be to download Paint.net, a free image editing software.
One you have created your texture, save as hair_col.dds, and that should be your model texture complete.
If you wish to edit the neck texture of your player, make sure you download the Neck folder provided at the top of the page and extract it into your model folder.
To edit the neck, open the file face.dds and edit away either using the face given as a template or just giving the whole image one solid colour.
Testing your Model
To test your model, follow the instructions from this tutorial on installing faces into PES15.
Once you have done this, you will be able to view your model LOD when you start a match on PES15.
To see your model up close, go into the Edit menu and navigate to the desired player. Note that this will not be the LOD texture, however they should be very similar anyway.
